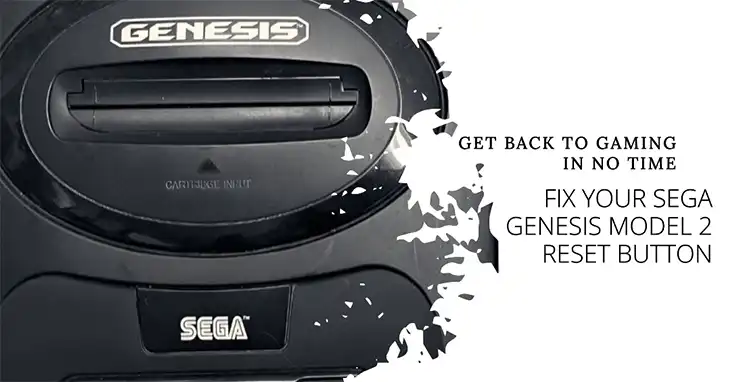
Sega Genesis Model 2 Reset Button Not Working
You know that feeling when you’re in the middle of an intense gaming session, and the reset button on your Sega Genesis Model 2 just won’t work? It’s frustrating, right? Well, don’t worry, I’ve got you covered. The issue is usually caused by dust buildup or a faulty reset button itself. In this guide, I’ll explain the reasons behind this problem and provide simple solutions to get your console back in top shape. Let’s get started!

Why Reset Button of the Sega Genesis Model 2 not Working?
The reset button on a Sega Genesis Model 2 serves a simple yet crucial function: it restarts the console. When you press the reset button, it essentially clears the console’s memory and returns it to its initial startup state. When it stops working, you won’t be able to restart the console and for that, you won’t be able to start a new game, return to the main menu, and so on.
There are several reasons behind the not working issue. And knowing about them is important as it can help to solve the issue quickly.
Dust Accumulation in Reset Button
One of the most common culprits behind a non-functioning reset button on your Sega Genesis Model 2 is good old dust and dirt accumulation. Over time, these pesky particles can make their way into the nooks and crannies of your console, clogging up the reset button and preventing it from working as intended.
It’s like having a tiny construction site inside your beloved gaming system – dust bunnies and debris slowly but surely build up, creating a blockade that stops the reset button from doing its job. And let’s be real, gaming sessions can get intense, and those furious button mashes don’t exactly help keep things tidy.
Faulty Reset Button
But what if cleaning up the dust doesn’t do the trick? Well, sometimes the issue lies deeper than just a messy console. Like any mechanical component, the reset button itself can become faulty or wear out over time.
Think of it like a loyal soldier who’s been on the front lines for too long – after countless battles (or in this case, resets), the button can start to show signs of fatigue. Maybe it’s not as responsive as it used to be, or perhaps it’s become a bit too sensitive, triggering resets at the slightest touch.
Either way, a faulty reset button can quickly put a damper on your gaming experience, leaving you frustrated and longing for a fix.
What to Do to Fix the Reset Button?
Don’t lose hope just yet!
Clean the Reset Button
If you suspect that dust is the culprit behind your reset button woes, it’s time to roll up your sleeves and get cleaning. But fear not, you won’t need to disassemble your entire console – at least, not right away.
Start by grabbing a soft-bristled brush or a can of compressed air. Gently brush away any visible dust or debris around the reset button area, or use the compressed air to blow it out. Be careful not to apply too much force, as you don’t want to accidentally damage any delicate components.
Once you’ve cleared away the surface-level grime, try pressing the reset button again. If it’s still not working, then open up your Sega Genesis, and follow the steps below –
- Dip a clean cotton swab slightly in the 70% isopropyl alcohol. Be careful not to drench the cotton swab, as excess liquid could damage the console’s internals.
- Gently clean the reset button with the moistened cotton swab, paying attention to the edges and any crevices. You can also try using a compressed air can to blow out any loose dust particles.
Allow the reset button to dry completely before powering on the console again. This might take a few minutes. After that, reassemble it and check whether the issue is fixed or not.
Change the Reset Button
If cleaning doesn’t solve the problem, or if you suspect that the reset button itself is faulty, you’ll need to replace it entirely. This process can be a bit more involved and requires some technical know-how, but don’t worry – with proper steps, it can be done quite easily.
- Open the Console: Carefully open the console using a small Phillips head screwdriver.
- Desolder the Old Button: Locate the reset button on the circuit board and identify the solder points connecting it. Use the soldering iron to carefully heat up the solder points and remove the old button. Desoldering braid can be helpful in removing excess solder.
- Install the New Button: Solder the new reset button to the designated points on the circuit board
- Double-Check Your Work: Once the new button is soldered in place, visually inspect your work for any loose connections or shorts. Make sure no solder bridges any gaps between components on the circuit board.
- Reassemble the Console: Carefully put everything back together following the video guide you used to open the console.
Now, here’s the moment of truth – power on your Sega Genesis Model 2 and give that shiny new reset button a try. If all goes well, you should be greeted with the satisfying click and a fresh start to your gaming session.


